

Sports
Trail running with a watch: heart rate, climbs and pacing by effort
On trails, pace says little about effort. Use trail running heart rate, grade-adjusted pace and perceived effort to pace climbs and protect your legs on descents.
Written by MoveVitals Editorial Collective
Community-authored educational content. Individual clinical review is identified only when a named review is actually recorded.
Editorial standards & corrections
Key takeaways
- Grade-adjusted pace rates a 10 % climb run at 8:30/km as roughly 5:45/km on the flat, but it ignores footing, mud, wind and altitude, so use it to review a run rather than as a live target.
- Heart rate lags 30–60 s behind a sudden effort and drifts upward over hours, so set a climb cap such as RPE 5–6 and power-hike when you exceed it.
- Walking costs less energy than running on very steep climbs, and most trail runners switch to a fast hike somewhere above roughly 10–15 % grade.
- Roughly 20–30 m of climbing per km is hilly and 50 m per km or more is mountainous, and effort kilometres add ascent ÷ 100 to distance, so 24 km with 1,100 m is about 35.
- Tree cover, canyons and tight switchbacks often make a watch read a few per cent shorter than the official course, so choose one with battery life in full-GPS mode well beyond your slowest finish time.
Trail running is running on unpaved, uneven and usually hilly ground. The same 10 km can take 50 minutes on a road and 90 on a mountain path, yet feel equally hard, which is why pace is the wrong yardstick.
Why pace misleads on trails
- Grade. Climbing costs more energy per kilometre. Gentle descents cost less, but steep ones cost more again because the legs must brake (Minetti et al.).
- Terrain and conditions. Roots, rocks, mud, sand and snow, plus heat, altitude and accumulated fatigue, raise the cost of any pace.
Grade-adjusted pace (GAP) converts your pace on a slope into the flat-ground pace that would feel about as hard: a 10 % climb run at 8:30/km (13:40/mile) is roughly 5:45/km (9:15/mile) of GAP. It models grade only, so it ignores footing, mud, wind and altitude. Use grade-adjusted pace on trails to review a hilly run afterwards, not as a live target; see running pace.
Steer by effort: heart rate, RPE and power
| Tool | Good for | Watch out for |
|---|---|---|
| Heart rate | The live cost of climbs, heat and fatigue | Lags 30–60 s behind a sudden effort; drifts upward over hours; reads low on descents; wrist sensors can fail on rough ground |
| RPE (0–10) | Everything at once, and it is free | Needs practice; see RPE |
| Running power | Reacts instantly to changes in grade | Wrist-based estimates differ by brand and model |
On easy and long days, treat your zone 2 ceiling as a limit for the climbs, not a target for the flats; if heart rate crosses it on a steep section, shorten your stride or hike. On climbs of several minutes, RPE 5–6 is a sensible default; on short ramps heart rate lags, so judge by breathing. Over hours, expect heart rate to creep up at the same effort (cardiac drift); slowing slightly is normal. For zone setup see heart rate zones.
Climbing, power-hiking and descending
Walking uphill is not failure. Minetti's laboratory data show that walking costs less energy than running on very steep climbs, and most trail runners switch to a fast hike somewhere above roughly 10–15 % grade, depending on fitness, distance and terrain. For longer days on foot, see hiking heart rate and pacing.
- Power-hike: short, quick steps, hands on thighs or poles. Run the flats and gentle rises, hike the ramps; over a long day this is often faster than running everything.
- Descend: short steps, feet under the body, soft landings. Descending is eccentric work and causes the deep quad soreness that can last days, especially the first time.
A trail running training plan: ascent, descent and a sample week
Distance alone underestimates the cost of a trail. Track weekly time on feet, ascent and descent too: roughly 20–30 m of climbing per km is hilly, 50 m per km or more is mountainous, and European races often compare courses in "effort kilometres" (distance plus ascent ÷ 100, so 24 km with 1,100 m is about 35). Build ascent gradually and take an easier week every 3–4 weeks (deload weeks).
A sample week for a 25–30 km trail goal:
| Day | Session | Purpose |
|---|---|---|
| Tue | 45–60 min easy, a few strides on a gentle slope | Aerobic base |
| Wed | Hill repeats: 6–8 × 2–3 min uphill hard (RPE 7–8), walk or jog down | Climbing strength |
| Fri | 30–40 min strength: split squats, step-ups, calf raises | Resilience; see strength training |
| Sat | Long trail run of 2–3 h at easy effort, hiking the steep parts, practising fuelling | Time on feet, descending |
| Mon, Thu, Sun | Rest, mobility or 30–45 min very easy | Recovery |
Trail running for beginners. If you can run 30 minutes continuously (see the beginner 5K plan), start with 30–45 minutes at an easy effort, plan by time rather than distance, walk anything that makes you breathe hard and expect to be slower than on the road. Wear shoes with grip, carry water and a phone, and tell someone your route.
What your watch measures on trails, and how to choose one
- GPS. Tree cover, canyons and tight switchbacks make tracks cut corners, so the watch often reads a few per cent shorter than the official course. Higher-accuracy modes help but use more battery.
- Altitude and ascent. A barometric altimeter is good at relative change but drifts with the weather, so set the altitude at the start. Totals differ between devices and apps; compare like with like.
- Heart rate. Optical wrist sensors are generally less accurate than chest straps during vigorous, irregular movement (Bent et al. 2020); arm swing, poles, cold and a loose strap add error. Use a strap for key sessions. See wrist heart rate accuracy.
Choosing a trail running watch. The best trail running watch depends more on your longest day than on the brand. Look for battery life in full-GPS mode that comfortably exceeds your slowest expected finish time (real-world figures are lower in the cold or with navigation on), a barometric altimeter, GPX route following, chest-strap pairing and buttons that work with wet or gloved hands.
Recovery and common mistakes
After long, hilly days expect a higher resting heart rate and lower HRV for a night or two. Look at the trend (resting heart rate, HRV) before deciding the next session. Protect ankles and Achilles tendons with strength work and ankle mobility, and see injury prevention for runners.
Common mistakes:
- Chasing pace on climbs, then fading late.
- Doing a big new downhill session in the final week before a race.
- Skipping strength work and fuelling practice; aim for 30–60 g of carbohydrate per hour on runs over 75–90 minutes (carbohydrate fuelling).
In MoveVitals
Trail runs are grouped with running. COROS connects directly for workouts and daily health data (streams and GPS arrive via Strava if you connect it), Suunto brings workouts with ascent plus altitude, heart-rate, pace and GPS streams, Garmin delivers full FIT activities with sleep, HRV and resting heart rate, and Strava adds elevation streams. If a run arrives from both your watch and Strava, one record is kept and labelled with the original device (how conflicts are resolved).
Worked example
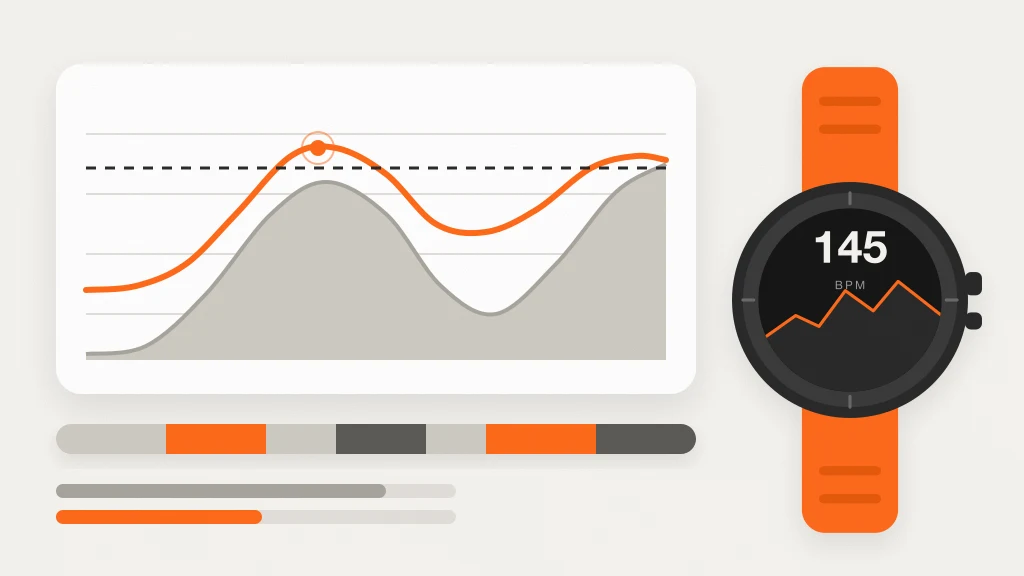
Illustrative scenario. Nico, 33, runs easy road kilometres at about 6:10/km and 135–145 bpm. On a 24 km trail with 1,100 m of ascent, his first climb (about 10 % for 2.5 km) starts at 9:10/km with heart rate reaching 158 bpm, well above his easy ceiling of about 145. He sets a rule: above 145 bpm or RPE 6, shorten the stride or hike. The next climb takes 10:20/km at 143–147 bpm. His average pace for the day is 8:05/km (3 h 14 min), but GAP puts it near 6:20/km, in line with an easy run. Figures are illustrative.
Action steps
- Set an effort cap for climbs, either a heart rate ceiling (such as the top of your easy range) or RPE 5–6, and switch to a power hike when you exceed it.
- Judge hilly runs afterwards by GAP, heart rate and how you felt, not by average pace.
- Track weekly ascent and descent as well as distance; increase them gradually and take an easier week every 3–4 weeks.
- Before a long day, set the altitude at a known point, test battery life in full-GPS mode, pair a chest strap and rehearse fuelling and kit.
Related guides
- Running pace: GPS accuracy, grade-adjusted pace and training paces
- Heart rate zones explained: how to set and use them
- Injury prevention for runners: load, strength and listening early
- Strength training for endurance athletes
- Ultramarathon training: 50K to 100 miles, volume, back-to-backs and fuelling
FAQ
What heart rate should I run trails at? There is no single number. Use your own heart rate zones: stay near your easy range on the flats, allow brief rises on steep climbs and slow down or hike when you can no longer speak in sentences.
How accurate is grade-adjusted pace on trails? It is a model based on grade. On technical, muddy or snowy terrain it can over- or underestimate effort, so use it to compare similar runs rather than as an exact measure.
How do I start trail running as a beginner? Begin with 30–45 minutes at an easy effort on gentle trails, go by time instead of distance and walk steep sections. Add one trail session a week and build gradually.
References
- Minetti et al. (2002). Energy cost of walking and running at extreme uphill and downhill slopes. Journal of Applied Physiology. https://doi.org/10.1152/japplphysiol.01177.2001
- Vernillo et al. (2017). Biomechanics and Physiology of Uphill and Downhill Running. Sports Medicine. https://doi.org/10.1007/s40279-016-0605-y
- Bent et al. (2020). Investigating sources of inaccuracy in wearable optical heart rate sensors. npj Digital Medicine. https://doi.org/10.1038/s41746-020-0226-6
For general information only. This is not medical advice — talk to a qualified professional about your health.
Keep reading
Sports
Hiking and trekking: heart rate on climbs, pacing and how to train for it
8 min read
Metrics explained
VO2 max: what it means and how to improve it
4 min read
Training science
Zone 2 training: the science and how to do it right
4 min read
Training science
Polarized training (80/20): easy most of the time, hard some of the time
4 min read
Devices & setup
Strava and MoveVitals: workouts, streams and devices that arrive via Strava
3 min read
Training science
Interval training and HIIT: designing sessions that work
4 min read